

Let’s be honest — most of us have been doing image searches the lazy way for years. You type a word into Google Images, scroll for five minutes, and either find what you need or give up. But modern image search techniques go way beyond that. Whether you’re a designer hunting for references, a student doing research, or someone trying to track down the source of a viral photo, knowing the right methods can save you serious time.
I learned this the hard way. A couple of years ago, I was working on a freelance content project and needed to verify whether a product photo my client sent me was original or lifted from somewhere else. I spent almost an hour doing text searches, digging through stock sites, getting nowhere. Then someone suggested reverse image search — and I found the original source in about 40 seconds. That was the moment I realized I had been doing this completely wrong.
Why Your Current Image Search Method Probably Isn’t Enough
Most people use image search in exactly one way: they open Google, click on “Images,” and type in a keyword. That works fine for general stuff — finding a picture of a sunset, looking up what a quokka looks like, that sort of thing. But it falls apart the moment you need something specific.
Say you’re trying to find the original photographer of an image you saw on social media. Or you want to find a higher-resolution version of a photo. Or you need to check if your product images are being used without permission by a competitor. Text-based keyword search won’t get you there. You need to go deeper.
This is where advanced image search techniques start earning their keep.
Reverse Image Search: The Most Underused Tool on the Internet
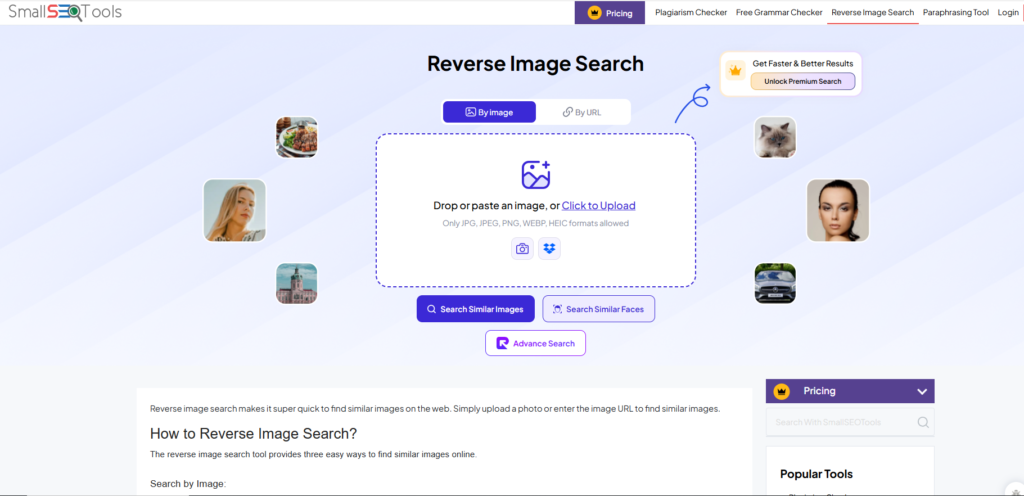
Reverse image search is probably the single most powerful technique most casual users have never properly explored. Instead of typing words to find pictures, you upload a picture — or paste its URL — and the search engine finds visually similar images, identifies objects in the photo, and often tracks down the original source.
Google Lens is the best place to start. On desktop, go to Google Images and click the camera icon in the search bar. On mobile, tap the Google Lens icon in the Google app. You can upload any photo from your device or paste a URL. Google will return visually similar results, identify landmarks, products, text in images, plants, animals — it’s genuinely impressive.
TinEye is another tool worth bookmarking. Unlike Google, TinEye was built specifically for reverse image search and focuses heavily on finding exact matches and tracking where an image has appeared online over time. If you’re a photographer trying to find unauthorized uses of your work, TinEye is often more thorough than Google for that specific use case.
Bing Visual Search doesn’t get nearly enough credit. Microsoft’s version lets you drag a box around part of an image to search just that section — which is incredibly useful when you want to identify a specific object within a larger photo, like a piece of furniture in a room shot.
A quick real-world example: I once found a photo of a beautiful cabin on Pinterest with no credit or location tag. Using Google Lens, I uploaded the image and within seconds had the name of the cabin, its location in Norway, and the original Airbnb listing. It would have taken me ages to find that through keyword searching alone.
Advanced Filtering Techniques That Google Actually Lets You Do
Here’s something most people genuinely don’t know: Google Images has some surprisingly powerful built-in filters that most users completely ignore.
After running any image search, click “Tools” under the search bar. You’ll see options to filter by:
Size — useful when you need high-resolution images for print projects. Selecting “Large” cuts out all the tiny thumbnails and low-quality results immediately.
Color — you can filter for images that are predominantly a specific color, or narrow to black and white, or transparent background. Designers use this constantly when they need images that match a specific palette.
Usage Rights — this one is critical and underused. If you’re looking for images you can legally use in your content, you can filter specifically for images licensed under Creative Commons or other open licenses. This alone can save you from accidental copyright issues.
Time — filtering by when images were indexed is useful for journalists or researchers trying to find the oldest known version of a photo, which helps establish original source.
Beyond Google, Flickr’s advanced search lets you filter by Creative Commons license type with much more granularity — important if you want attribution-only images versus ones with share-alike requirements.
Using AI-Powered Image Search for Semantic Understanding
This is where things get genuinely futuristic. Traditional image search matches keywords in filenames, alt text, and surrounding page context. AI-powered image search actually understands what’s in the image.
Google Lens can identify a plant species from a photo, read handwritten text, translate signs in foreign languages, and even find recipes based on a photo of a dish. Pinterest Lens lets you point your camera at a piece of clothing or furniture and finds similar items available to buy. This is image search that understands visual context, not just metadata.
For stock photography, tools like Adobe Stock’s visual search and Shutterstock’s reverse image search let you upload a composition or mood reference and find professionally shot images with a similar visual feel. This is invaluable for designers who have a specific look in mind but can’t quite articulate it in words.
There’s also a growing set of specialized AI tools built on models like CLIP (Contrastive Language–Image Pretraining) that allow you to search image databases using natural language descriptions — things like “a woman laughing in a coffee shop, warm light, candid feel.” The results are often more accurate than any keyword search could achieve.
Practical Image Search Techniques for Specific Situations
Different needs call for different approaches, so here’s a quick breakdown based on what you’re actually trying to do:
Finding the original source of a viral image: Use TinEye first (it’s specifically built for tracking image history), then cross-check with Google Reverse Image Search. TinEye will often show you the earliest indexed version of the image, which helps identify the original.
Finding high-quality images for content creation: Use Google Images with the “Large” size filter combined with a usage rights filter. Supplement with dedicated Creative Commons sources like Unsplash, Pexels, or Wikimedia Commons, which offer clean licensing and genuinely high-quality work.
Identifying objects, places, or people in photos: Google Lens is the strongest option here. For landmark identification specifically, Google Lens and even Apple’s Visual Look Up (built into iOS) are both excellent.
Shopping by image: Pinterest Lens and Google Lens both support this natively. Bing Visual Search also has a strong product identification feature that links directly to purchasing options.
Verifying image authenticity (fact-checking): Run the image through both Google Reverse Image Search and TinEye, then check the metadata using a tool like Jeffrey’s Exif Viewer or FotoForensics. Metadata can reveal when and where a photo was taken — useful for debunking images falsely presented as recent news.
A Few Habits That Will Make You Better at Image Search
Beyond the tools, there are some habits that consistently produce better results:
Crop your image before uploading for a reverse search. If you’re trying to identify a specific object in a busy photo, crop tightly around just that object before running the search. It dramatically improves accuracy.
Search in multiple engines. Google and Bing index different content, and TinEye has a separate database entirely. Running the same reverse search across two or three engines regularly surfaces results that a single engine misses.
Check file metadata when source matters. Before using or citing an image, look at its EXIF data. It often contains the camera model, GPS coordinates, and timestamp — information that can be invaluable for verification or proper attribution.
Save your searches. Both Google and Pinterest allow you to save image searches and revisit them. If you’re doing ongoing research or looking for content for a recurring project, saved searches surface new results automatically over time.
The Bottom Line
Knowing the right image search techniques is genuinely one of those small skills that compounds over time. The difference between someone who knows only basic keyword search and someone who’s comfortable with reverse search, AI visual search, and proper filtering is often the difference between a task taking ten minutes versus an hour — or being solved versus left unsolved.
Whether you’re protecting your own creative work, trying to find the perfect reference image, or just satisfying curiosity about a photo you came across online, the tools are out there and most of them are completely free. The only thing stopping most people from using them is not knowing they exist.
Now you do.